To start getting value out of Jive for Outlook, connect to Jive and other
social platforms so you can see what your email contacts are doing around your network. Then try
interacting with your Jive community directly from your Outlook inbox.
For a quick Jive for Outlook setup:
-
If you haven't already, install the Outlook client program from your Jive community. You
can find the installation link by opening the drop-down menu linked to your name or avatar in
the community and selecting Tools. Make sure you close any Microsoft
Office programs you are running. The installation program will prompt you for any additional
installation requirements. More information about installation is available at docs.jivesoftware.com/outlook.
Note: If your device is running an anti-virus software then the downloaded installer files are
usually scanned for virus and the installation stalls for some time until the scanning is
complete. The installer may even throw an error message that some files required for
installation are not available, after sometime the error message goes away and the
installation resumes.
-
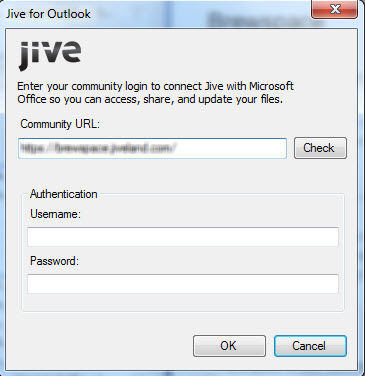
Specify the correct Jive account if Jive for Outlook hasn't already detected it. If you
downloaded the program from the Tools menu in Jive, your Community URL should be supplied
automatically.
-
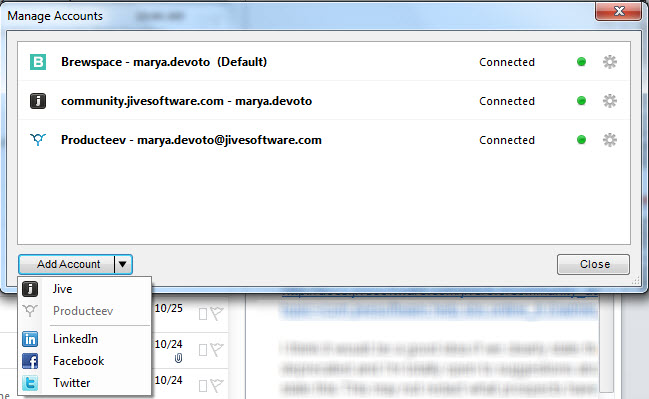
Connect to any networks you're missing by selecting
You should see Jive community
posts and other social information about your Outlook correspondents in
the right-hand pane. The middle pane shows a preview of any Jive activity
you've been notified about in email. You can respond to Jive activity directly
from the preview pane by clicking Reply or
Comment.
-
Try posting to your Jive community using the Create menu in the toolbar.
An email form will open with instructions for configuring the information you want to post.
 You should see Jive community posts and other social information about your Outlook correspondents in the right-hand pane. The middle pane shows a preview of any Jive activity you've been notified about in email. You can respond to Jive activity directly from the preview pane by clicking Reply or Comment.