To set up an integration between Jabber and your Jive site, you'll need to install the Jive Connector for Jabber add-on from the Available tab in the Add-ons interface.
This Jabber integration allows one-click access to voice talk and chat using Jabber as the client. To set up the integration, you'll need community manager
rights in your community. This enables you to install the add-on and configure the
profile fields associated with the app. If your community uses SAML SSO or a directory server for user provisioning, you may also need access to your directory server or IdP to ensure a custom profile field in Jive can be populated. To get set up:
-
Click the Jive Jabber app and in the System Settings dialog, provide the field
names in the Jive contact database that the integration will use to find the
phone number and xmpp ID for each user.
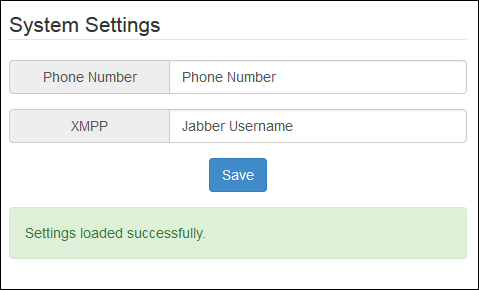 The xmpp ID should be located in the Jabber Username field you created in Step 2, and the phone field is typically named Phone Number. You can confirm this information by opening the Jive admin console and clicking . Enter the field names into the app configuration screen exactly as they appear in the Profile Settings dialog. (Note that a translation of the field name may be displayed in the profile, but the profile settings will show the actual field name.) Users who don't have this information populated in the fields you identified will not be able to connect using the Jive Jabber integration, and users who are using Jabber in Jive will not see the buttons they need to connect to these users, either on their profiles or on the hover card. If your community is not already populating these fields from a directory server, and you have made these fields editable on the profile, you can get users to provide the information themselves by clicking Edit Profile under their name or avatar.