With Jive for Office, you can share your Office documents with others in your online
community. As you make changes to a shared document on your computer, Jive for Office
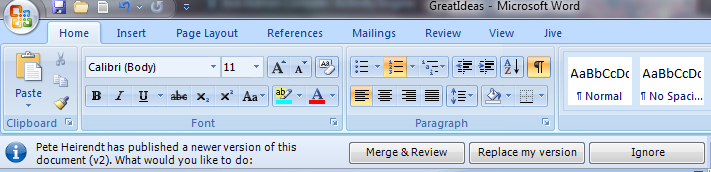
synchronizes the document with the version that's visible in the community, and provides
real-time notifications to users working in the same document. The notifications tell
users that content has changed, plus give them the option to incorporate the changes
into their version using a merge tool. This keeps the content on the community up to
date, but also synchronizes comments, tags, and collaboration settings between the
community and your document.
This feature is supported for Microsoft Office versions 2003, 2007 and 2010 running on
Windows.
Note: If you have the appropriate permissions, you can edit everything but the content of a
shared document in the community. In the community you can edit descriptions, tags, and
categories, and you can use an Office program to edit the document content.
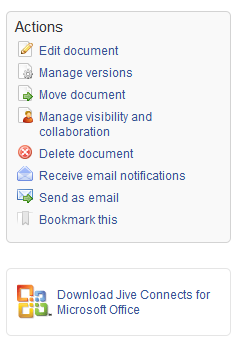
What You Can Do
With Jive for Office, you can upload Microsoft Office documents to your community,
then keep changes to the document in sync while you work in Office.
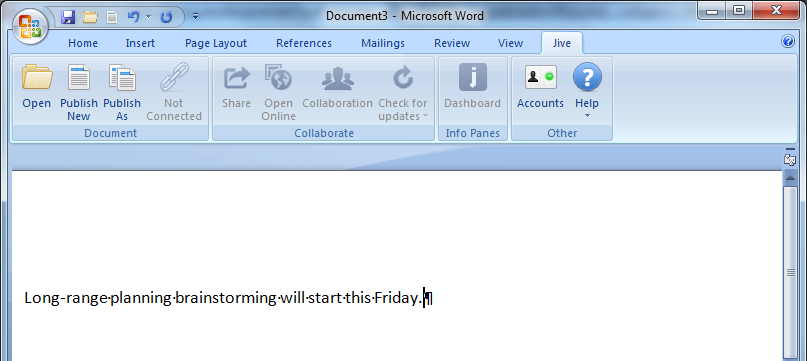
In particular, with Jive for Office you can:
- Upload Office documents to your community without leaving Microsoft Office. When
you upload a document, the community displays a preview of the document
(although it must still be edited using Microsoft Office).
- Use Jive in the Office toolbar ribbon to:
- Change collaboration options to indicate who can edit the document in
the community.
- Create a document for your community.
- View the currently published version of your local document in your
community.
- Share your document with others.
- Check for updates to the document.
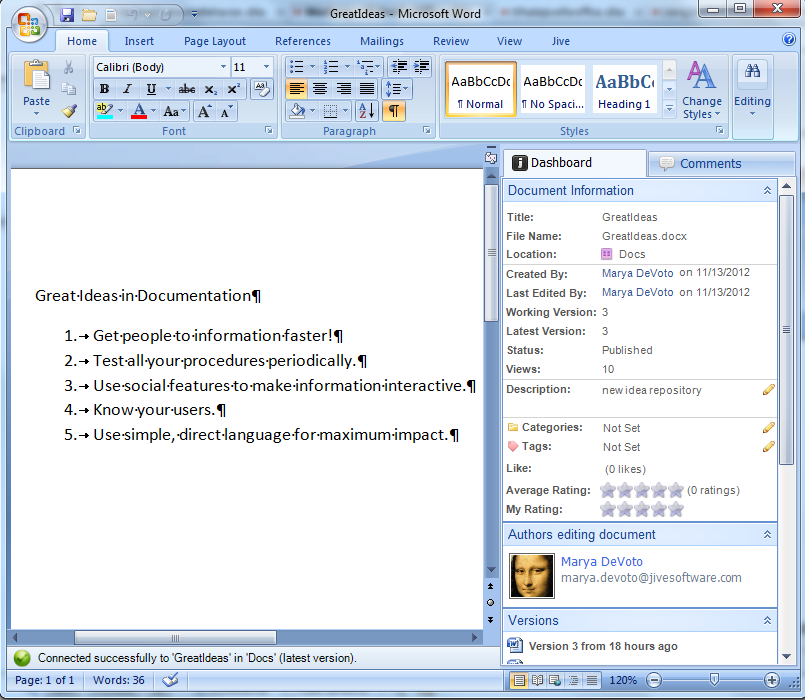
- Use the Dashboard to:
- See who else is editing the document.
- See how many people viewed the document, who created it, and who’s
contributed to it.
- View, add, delete, and reply to comments.
- View and add tags to help categorize the document in the community.
- Edit the document's description.
- View older versions of the document.
- Rate the document, and see how others rate it.
- Browse files similar to the open file.
- Take a look at more files created by the author.
- Rate the document, and see how others have rated it.