Adding documents to community
To have an Office document appear in the community, you can either add it using Jive Connects for Microsoft Office or upload the document from inside the community.
Adding documents from Microsoft Office side
To add a document using Jive Connects for Microsoft Office:
- Connect to the community. For more information, see Connecting to your community.
- Open or create a document in Microsoft Office.
- On the ribbon, go to the Jive tab.
Alternatively, on the ribbon, go to File and select Publish to Jive.
- In Document, click Publish to open the
Publish new document dialog box.
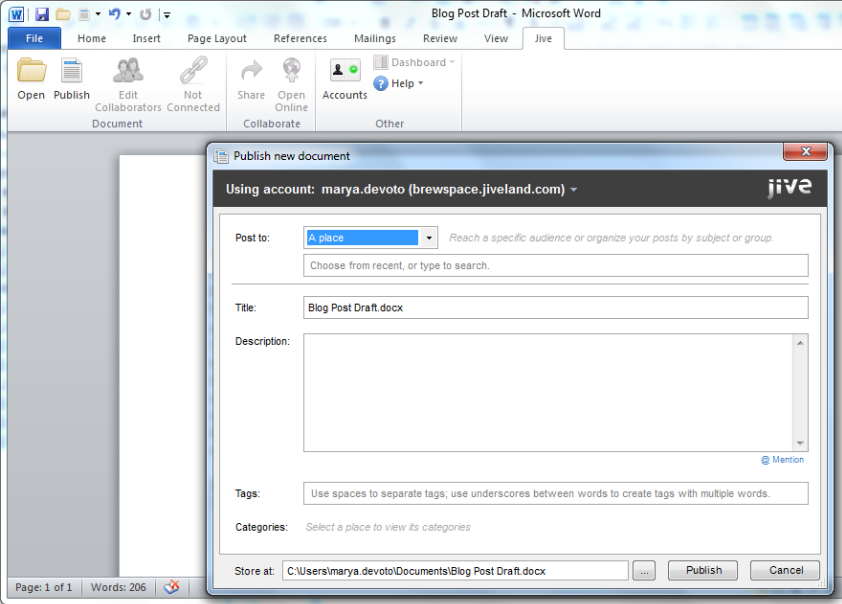
- In Post to, select the place in the community where you want to save the document.
- In Title, enter the name to be used to publish the document.
- Optionally, in Description, enter the description of the document.
- Optionally, in Tags, add tags to help other users find your document in the community.
- Optionally, in Categories, select the place categories for the
document.
This is available only if the selected place has categories configured.
- In required, in Store At, change the local file location for your document.
- Click Publish. Note: You don’t need to save your document or changes to your document locally before publishing to Jive.
You can synchronize the uploaded documents with the rest of the community: push your changes into uploaded documents and get the changes done by other users. For more information, see Keeping documents synchronized.
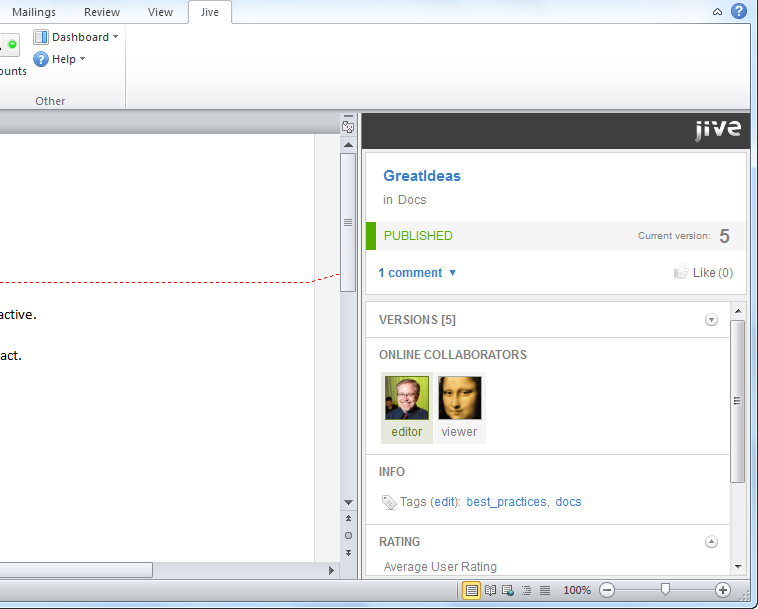
Once the document is added to the community, you can click to display a panel of information about the document, such as comments, ratings, and the current version number. The following image shows the Dashboard.
Adding documents from the community side
To add a document from inside the community:
- From your community, click
 (Create) > Document.
 - Select Upload a File.
- Select the location for your document.
- Click Choose File.
- Select the file from your desktop.
- Click Publish.
Depending on the size of your document, it might take a few seconds to upload it.