Connecting Jive places to SharePoint
To use SharePoint as external storage for uploaded files and images for a Jive place, connect the place to SharePoint.
To connect a Jive place to SharePoint as external storage provider:
-
Next to External file storage, click
Change.
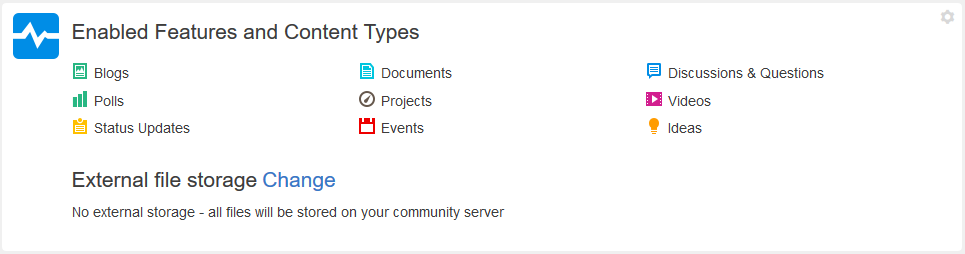
This open the Enable Features and Content Types dialog box.
-
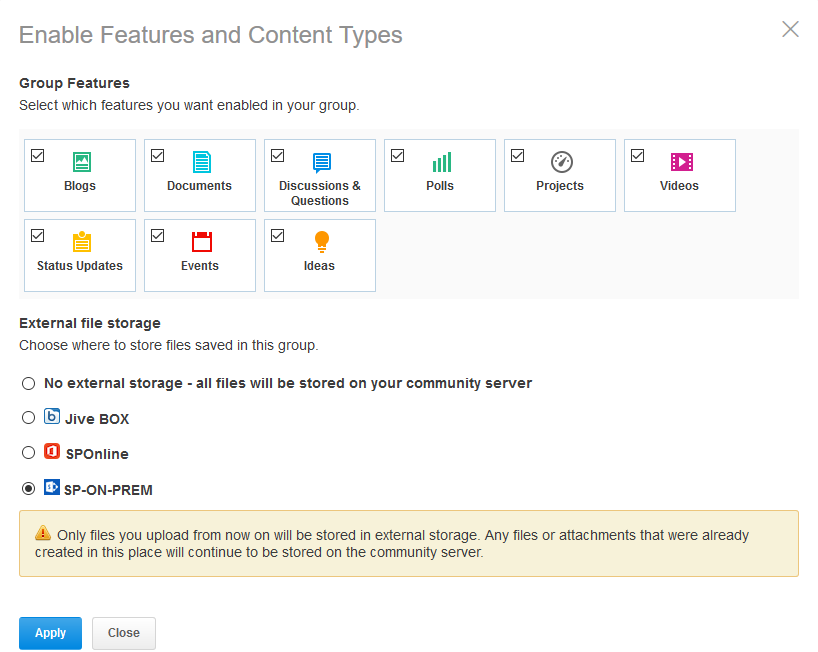
Under External file storage, select your SharePoint
storage instance and click Apply.
-
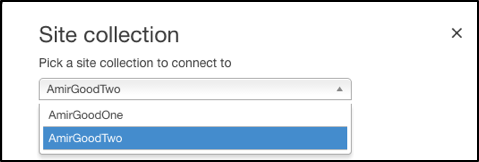
Select the site collection to which you want to connect the new place.
The options you see in the Site Collection list are the site collections you have added. For more information, see Creating and configuring storage instances.
-
To connect to a new site:
-
Select the site under which the new site will be created.
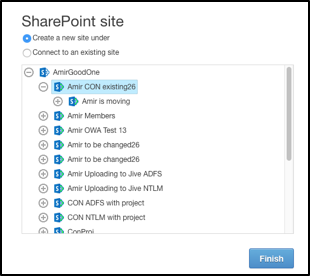
This creates a new site under the site you select in the tree view.
-
Select the site under which the new site will be created.
-
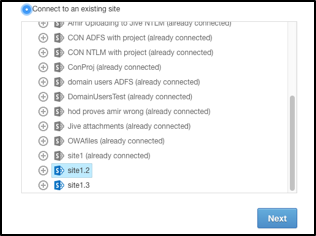
To connect to an existing site:
-
Use the +/- signs to expand or collapse the tree
view and view sub-sites and select the site to which you want to connect
the Jive place.
-
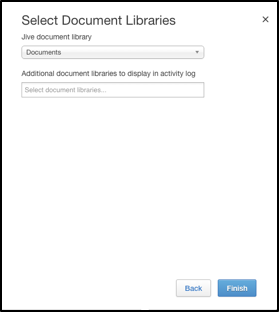
Select Additional Document Library to set
secondary libraries. Files uploaded to the secondary libraries are
synced to the Jive place.
This connects the place to the site you select in the tree view. -
Use the +/- signs to expand or collapse the tree
view and view sub-sites and select the site to which you want to connect
the Jive place.