Creating custom CSS classes
You can customize your community's CSS by adding or overriding CSS classes in a custom CSS FTL template file. You create a theme, create the custom template, add your CSS classes to the template, then map the theme to the UI.
This section walks through the process of making a small change, but larger changes work essentially the same way. For more information on how to map your themes, see Mapping custom themes to UI.
If you create new CSS classes, you also need to update page-specific theme files to use the classes you define. For information, see Customizing UI page structure.
How you map your theme determines the scope of the changes applied. This makes planning the scope and the details of the customizations a necessary step in creating your theme.
To create custom CSS classes:
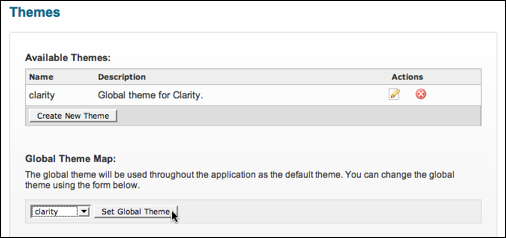
- Create a new theme. In the Admin Console, go to .
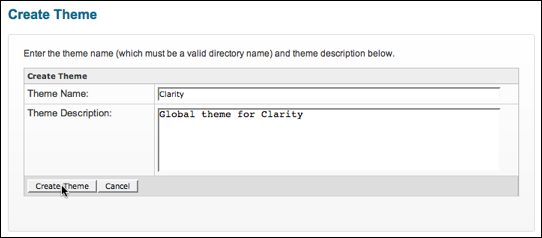
- Click Create New Theme. Give the new theme a name and
description, then click Create Theme.
- Clicking the Edit icon to start editing the theme.
- Under Create Custom Template, select
/soy/template/css-custom.soy, then click Create New Template.This creates a custom template to which you can add CSS classes.
Note: When you save your CSS custom template, the application copies it as<jive.instance.home>/themes/<theme_name>/global/custom-css.ftlin your installation. You can create and save the template, then open the saved template in another editor. - Using a tool, such as Firebug, figure out the styles you want to add or override.
- To override the style you've identified, add a class of the same name to your custom CSS
template. You can even start by copying the classes from the instance, then pasting them into your custom CSS template. The following example shows the user bar style updated with a different color and no background image.
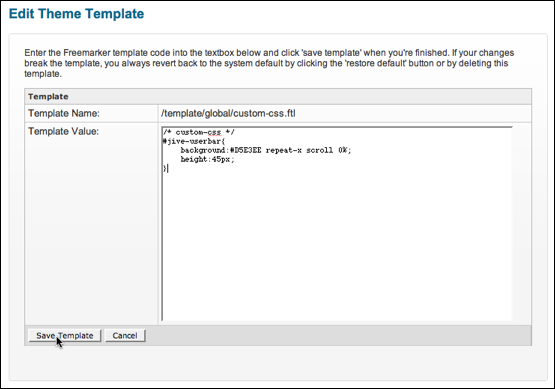
- Save the template when you've added the classes you want.