Maven: Using with IDEA
This document provides the steps for opening and running your new project with IDEA.
Assumptions
This document assumes that you have already set up your Maven project from the command line, as described in Maven: Creating new project.
Step 1: Create New IDEA project
- From the home screen or the menu, select .
- Navigate to the maven source code your archetype has created and select the root pom.xml
file. It will look like this:

This will do mostly everything you need to build and configure your project.
Step 2: Download Your Dependencies
mvn dependency:sources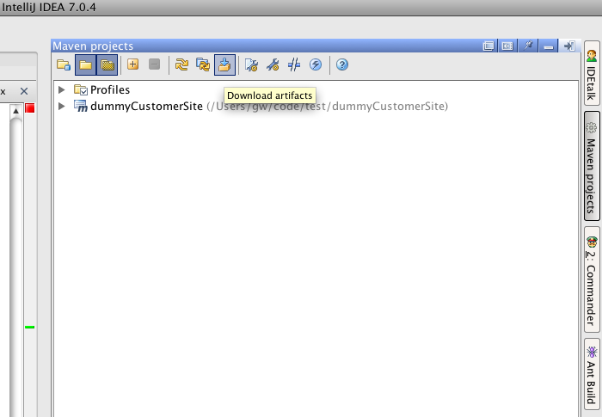
Alternatively, you can click Download Artifacts to pull down and link up everything in one step.
 |
Update Folders | Use if you've run mvn dependency:sources on the commandline |
 |
Download Artifacts | Use by itself; this can take a while and will tie up your IDE while everything downloads |
When this step is complete, the source code for all of your dependencies, including the application source will be on your machine, and available to you when you code and debug.
Test by looking up the LoginAction Java class. You should see the full source code, not just the method signatures interpolated from the Jar.
Tips for optimal use: Avoid file re-indexing
By default your plugin modules and web module will use the maven commandline output paths. That means every time you build on the commandline with maven, IDEA will try to reindex all the files you delete and re-create. Better let IDEA maintain its own compile output, so select Inherit project compile output path, as shown below in your Project Settings.
