Creating places linked to SharePoint Online
To use Jive for SP Online and O365, you need a Jive place linked to a site collection in SharePoint Online. Here's how to create one.
If you already connected a Jive place to SharePoint Online, and you need to disconnect them, see Disconnecting your place from SharePoint Online.
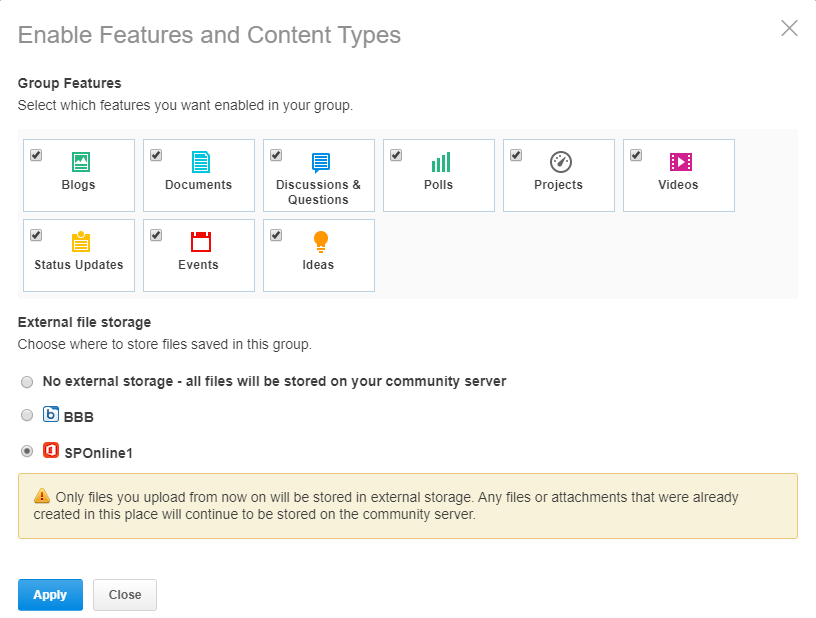
To create a place that will store all uploaded files in SharePoint Online:
-
Next to External file storage, click
Change.
-
Click Apply.
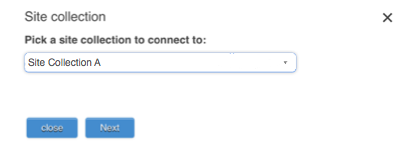
This opens the Site Collection dialog box, as shown in the following image.
-
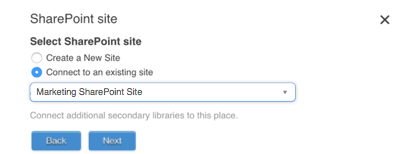
To connect to an existing site:
-
Under Select SharePoint site, select the site,
and click Next.
-
Select one or more document libraries to store Jive documents.
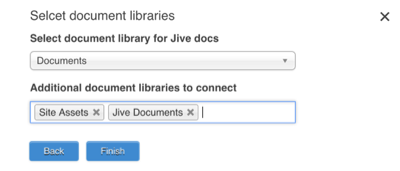
When you select one or more additional document libraries, all files in those libraries will be synced in batch to the connected Jive place, but files uploaded to Jive will only be synced to the primary library. This may take a while, depending on the size of the libraries.
Note: When you connect to an existing site, Jive does not alter the set site permissions. -
Under Select SharePoint site, select the site,
and click Next.
With this setup enabled, files uploaded to the place will be stored in the place-linked site in SharePoint Online. Jive native documents will still be stored in Jive.